Back to Kit 1
Home
On to kit 3Kit 2 Running Boards and Footplate
December 2008
In due course, kit 2 arrives containing the motion plates, running boards, footplate and the
accompanying brackets. Also the axle driven water pump and eccentric. Here's a picture of the parts.
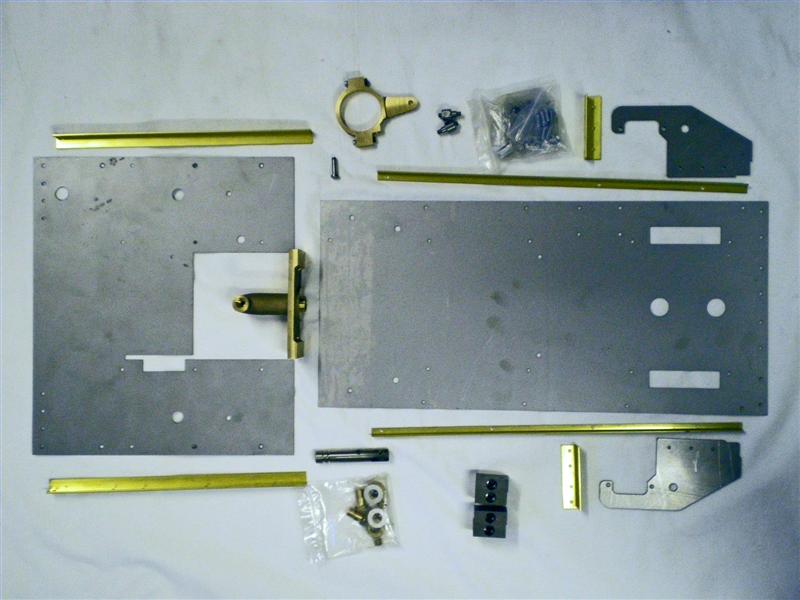 (click on image to enlarge)
Again, straight forward assembly although
I discover that the holes in the back edge of the footplate don't quite
line up with the brackets on the frames. The two sets of holes are
slightly too far apart but a drill soon lines them up.
After assembling these parts it is now time to start painting the frames.
This is where I start to worry as I'm always scared I'm going to
ruin a perfectly good model with a lousy paint job. I haven't done yet,
but working on a model this large, any imperfections are going to show
up. Still, a lot of this paintwork is going to be out of sight so it may not matter too much.
The
construction manual says that the designer usually uses Hammerite paint
for the frames. I've used that before around the house and garden
but never in a modelling sense. The one advantage is that it's
made specifically to paint bare metal. I'm not keen to spray the
frames with an aerosol as there are so many bits and pieces to get
round I'm sure I'll get runs all over the place. So decision
made, I'll try the Hammerite. At least it's readily available and
I won't have to wait to get something else through the Christmas post.
I'm
trying to copy the colour scheme of the engine at Valkenburg, so I
need to paint the outside of the frames in red and, as the
insides are going to get pretty mucky in use, I decide to go for gloss
black. After much pre-cleaning with white spirit and finally with
Hammerite thinners, I'm ready to start.
The first coat of
black doesn't cover too badly and after rubbing down the brush marks
and smudges and another coat we are getting somewhere. It's
really difficult to get a good sweep with the brush as it's so cramped
in there. A final rub down and third coat sees a pretty good
final finish.
Then on to the red outside frames.
This has got to be pretty good even though a lot of it will be
covered up with wheels, cylinders and so on. Again after three
coats with much careful rubbing down in between, I've ended up with
what I think is a pretty good finish.
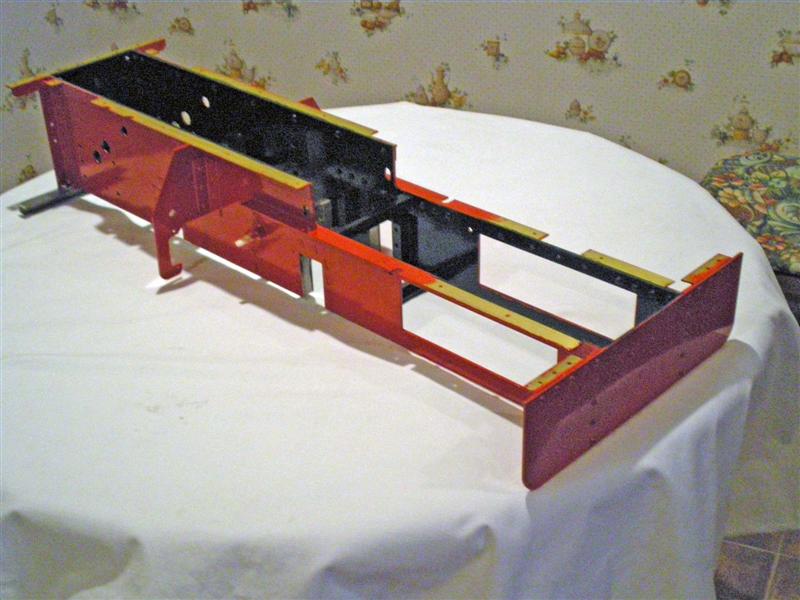
Here's a picture of the final paint job on the frames.
Yes that is the kitchen table this time - well it was cold in the garage!
(click on image to enlarge)
So
here we are towards the end of January 2009. Andy has been tied
up with the London Model Engineering show at Alexandra Palace so I
haven't got kit 3 yet. I've just got to finish painting the
running boards and the footplate and then I'll just have to wait for
Andy to catch up. See you over on kit 3 page in a few weeks.
Back to Kit 1
Home
On to kit 3