Back to kit 9
Home
Conclusion
Kit
10: The Cab and Other Body Parts
August
28th 2009
This
was just a preliminary shipment of kit 10 which will eventually
complete all the dummy body parts which will make the engine come
alive.
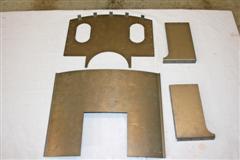
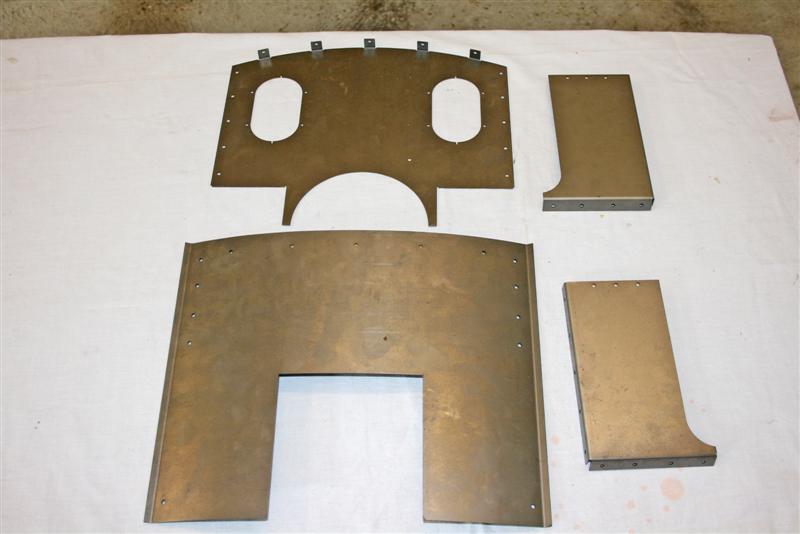
At
the moment I just have the cab front, sides and roof which I may be
able to put together in time for the Polly Owners Group rally next
week, just to complete the effect and give a true indication of the
size of this model.
October
14th
While
at the POG rally, I collected some more parts from Andy .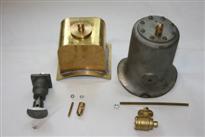
The
front buffer (from kit 7) plus the sandbox and the steam dome, and the
dummy regulator and safety valve castings from kit 10.
For now I'm
concentrating on finishing kit 9 so that I can get into steam.
October
21st
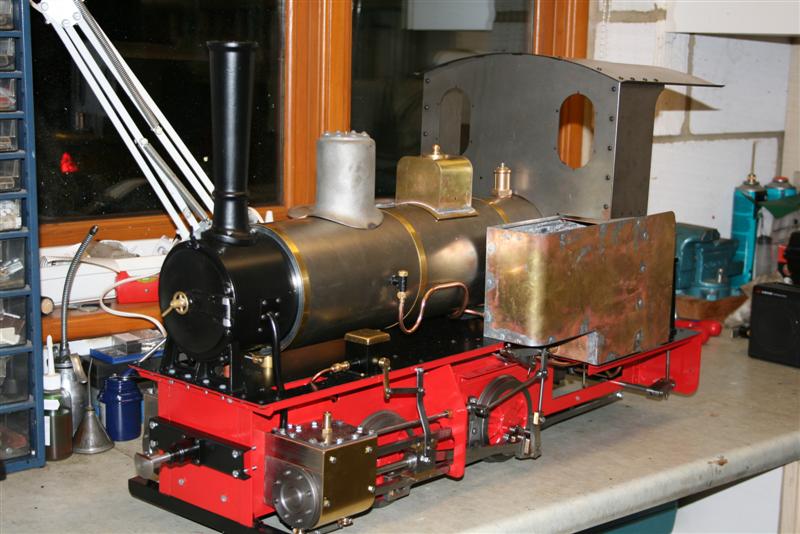
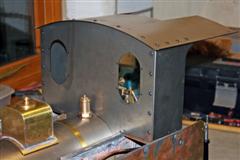
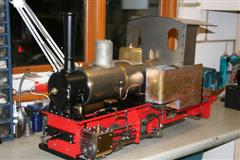
In
a spare moment I've assembled the cab and set it on top of the tanks
just to see how it will look. Here's a couple of pics showing
how
close we are to completing this engine. Note that the front buffer is
now in place. The dummy sandbox is fitted over the steam dome
and
the dummy steam dome (still to be cleaned up for painting) is set on a
long rod fixed to the boiler cladding.
November
19th
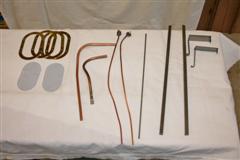
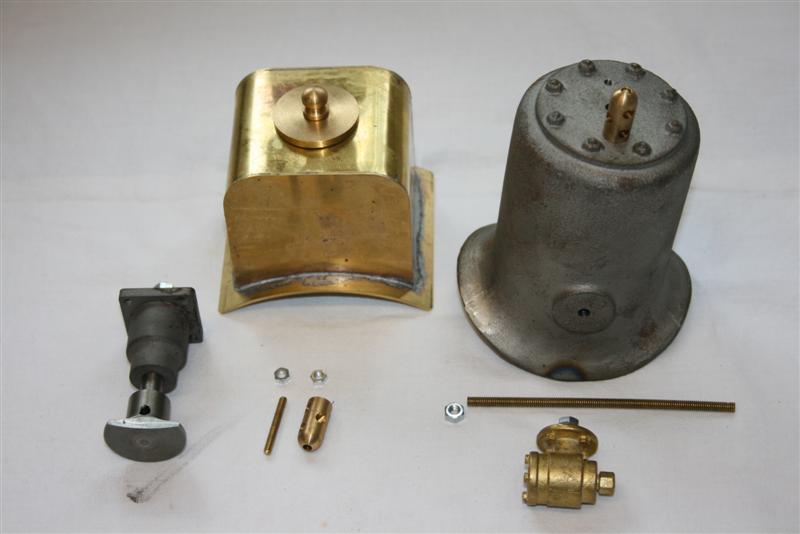
Last
week I received the final parts of kit 10 so that I now have everything
I need to complete the build. The parts include the cab
steps,
cab roof supports, window frames and panes, dummy sand pipes, dummy
steam pipes and actuating rod for the dummy outside regulator.
Here they all are
Following
the successful steam trials described here First Steam
I have now begun to dismantle the engine parts that need painting.
I've started a new page on my efforts at achieving a
reasonable
paint finish here Painting the engine I'll return
to this page when I assemble all the cab parts after painting.
January
2010
Final
Assembly
While
waiting for an opportunity for Paul and I to get together,
I refitted the firebox cladding and reassembled the turret and
all the boiler fittings. When I originally
fitted the unpainted boiler cladding ready for first steam, I
struggled
with bits of wire and electricians cable ties and ended up with a lot
of scratches. That didn't matter as the painting had yet to
be done,
but you can't do that with freshly painted parts. It
is suggested in the instructions that it is easier to have two
people to do this job and I would endorse that.
In
preparation, I
had smoothed the edges of the brass boiler bands and coated them with
Vaseline to help them slide around the cladding without
scratching it. After first fitting the threaded rod, which holds the
dummy steam dome in place, we sprung the
cladding over the boiler and positioned it using the side clack valves,
while making sure the front cladding spacer was in front of the
forward edge. I then marked the position of the centre band
with a pencil mark. While I squeezed the cladding around the boiler,
Paul fitted the centre band and loosely did up the nut and bolt with
the join at 45 degrees to its normal position. We then
carefully rotated the band (the Vaseline worked a treat) so
that the join was under the boiler. Next we fitted the front
band while carefully easing the front spacer under the cladding until
it was flush with the edge and the band. We did the same for the final
band and then tightened up all the bolts.
Next
job was to fit the side tanks and reconnect all the pipework which is
quite straightforward. Last job was to fit the cab which I
had already assembled. This fits to 2 brackets screwed to the
tops of the tanks and to the 2 rear supports fixed to
the footplate. There's a lot of bits to line up here and they
didn't want to join up at first. I found that by loosening
the 4 nuts holding the tanks in place, I could get enough
movement to line up the cab fixing bolts on top of the tanks.
Finally retightening the tank holding nuts and all was secure.
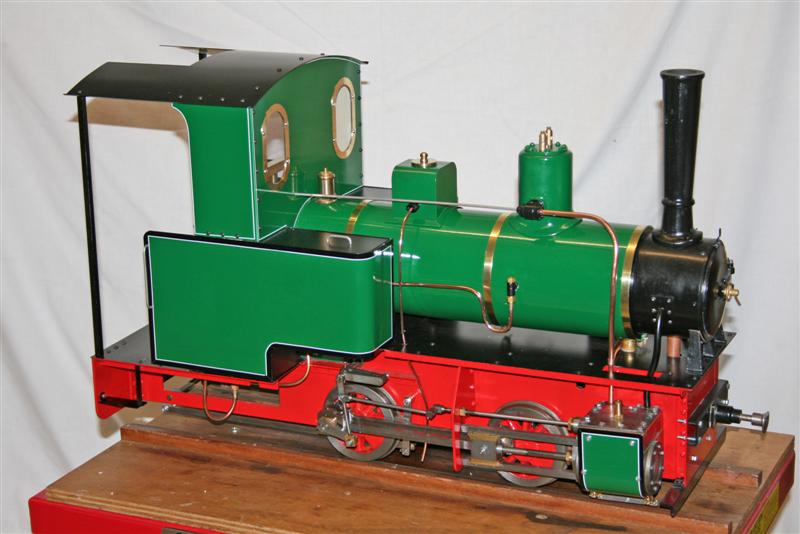
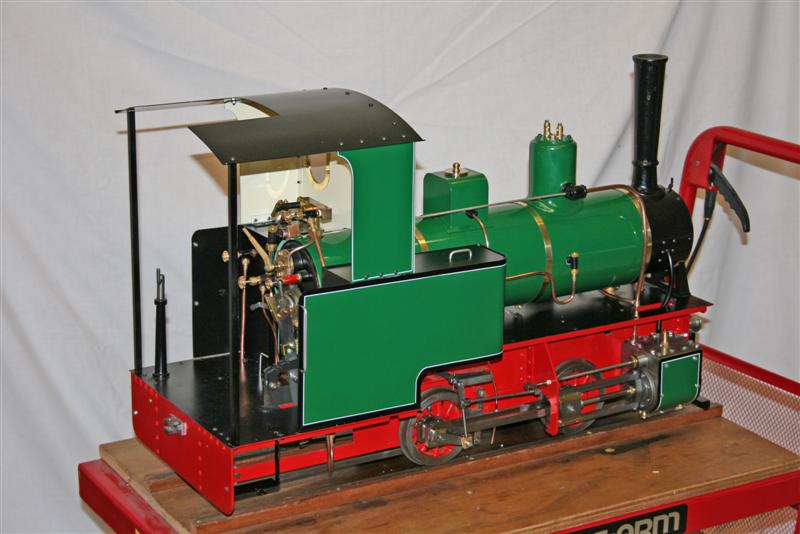
Finally,
I finished the "dressing up" by fitting the dummy steam dome and
regulator, sand box and pipes and the steam supply
pipes to the cylinders. I had to rebend the
steam pipe that goes across the running board as it seemed to be shaped
to go in front of the real steam pipe when in fact it can only go
behind it due to the boiler band clamp getting in the way.So there we are, finished at last and here is what the she looks like.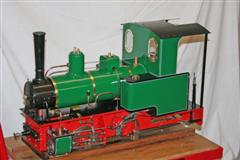
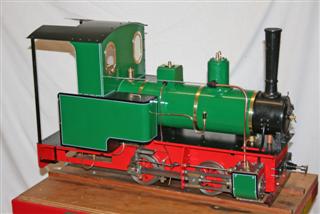
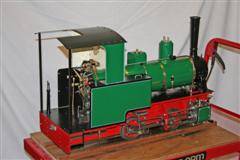
(click on image to see full size)
Take a look at my conclusions page for how I feel now that I have come to the end of this project.
Back to kit 9
Home
Conclusion